Never share your personal details with companies that call you.

Phishing for personal details is a common approach taken by scammers to gain access to victims bank accounts and other online services. They call random phone numbers and claim to be from a large company or service provider. If you happen to be a customer, they can then proceed to “check details for security” and gain postcodes, dates of birth and possibly bank account details, credit card details, even passwords.

One reason this is often a successful approach is that it is exactly what some banks, mobile phone companies and ISPs do. They will call you about something to do with your account, and go through the security procedure to confirm they have called the right number or whoever answered the phone is indeed the person they need to speak to.

This seems quite legitimate, but how can you tell it isn’t just a very convincing con artist who called you? They don’t give you an opportunity to confirm their identity.

As well as this imbalanced approach to security, legitimate companies who perpetuate this practice are making the job of scammers easier by normalizing handing out of personal information to anyone who calls and sounds convincing.

Companies who value security really need to think harder and change how they validate who they have called.

Until they figure out creative ways to do a better job, my advice is to challenge any caller who seeks your personal details about this, and refuse to share them. Instead you can call them back on a publicly available contact number, and go thorough the process.

This might seem over the top, but note that victims of scammers who handed over their personal details are always held responsible and rarely refunded by their banks, or other service providers. It’s the customer’s fault for doing what the same companies systematically ask thousands of customers to do every day.

A birthday computer for Kai

Kai will be turning 12 in August, and this year he wants his own computer to play video games and of course do lots of homework in his room… During lockdown, Kai has spent a lot of time socialising and gaming with friends in Fortnite, Save the World and other online games. But this has been on his Dad’s Mac, which is not great for gaming, and he has to fight for access.

He’s interested in building his own, and would like help obtaining the different components.

He would love it if family and friends contributed towards the computer by “buying” a component or contributing towards one, instead of birthday presents.

We’ve identified the following parts.

Skeleton and Central Nervous System

Motherboard: MSI B450M Mortar Max (Socket AM4) DDR4 MATX Motherboard £99.95

MSI B450M Mortar MAX (Socket AM4) DDR4 mATX Motherboard

Brains

Processor: AMD Ryzen 3 3100 Quad Core 3.9 GHz (Socket AM4) Processor £99.95 Gifted by Cassie, Ali and Simon

AMD Ryzen 3 3100 Quad Core 3.9GHz (Socket AM4) Processor - Retail

Memory: Kingston HyperX Fury 8Gb DDR4 PC4-25600C16 3200MHz Dual Channel Kit £44.99

Kingston HyperX Fury 8GB (2x4GB) DDR4 PC4-25600C16 3200MHz Dual Channel Kit (HX432C16FB3K2/8)

Graphic Card: MSI R6950 Twin Frozr Power Edition Graphics Card Gifted by Ciaran!

Storage: Gigabyte 480GB SSD 2.5″ SATA 6Gbps Solid State Drive £49.99

Gigabyte 480GB SSD 2.5

Gastrointestinal System

Power Supply: Kolink Modular Power 600W 80 Plus Bronze Module Power Supply £49.99

Kolink Modular Power 600W 80 Plus Bronze Modular Power Supply

Skin

Case: Aerocool Aero One Mini Eclipse ARGB Mini Tower Case £49.99

Aerocool Aero One Mini Eclipse ARGB Micro- ATX Case - White Tempered Glass

Eyes

Monitor: HP Monitor Donated by Yuki!

HP v28 4k Monitor (3840 x 2160) 28 Inch (AMD FreeSync, 2 HDMI, 1 DP) - Black

Ears

Headphones: Sales Gaming Headphones Bought by Kai

PS4 Headset, INSMART PC Gaming Headset Over-Ear Gaming Headphones with Mic LED Light Noise Cancelling & Volume Control for Laptop Mac Nintendo Switch New Xbox One PS4 (3.5mm Splitter Cable Included)

Fingers

Keyboard: Ezonteq Gaming Keyboard Bought by Kai

Gaming Keyboard, WisFox Colorful Rainbow LED Backlit USB Wired Keyboard, Ultra-Slim Quiet All-Metal Panel Computer Keyboard with Spill-Resistant Design for Desktop, Computer, PC Gamer

Hand

Mouse: Zelotes Great Spider Inception Gaming Mouse Bought by Kai

Giving

If you want to buy Kai a part, or contribute towards this, please email or WhatsApp Yuki or Duncan saying what you want to contribute towards and how much.

Switching from Windows to Mac: Keyboard

My first experiences with with computers were with my dad’s Macintosh Plus, but when I left home for university and in all subsequent jobs I was using a Windows PC. My whole academic and working life I was typing the Windows way, and certain keypresses just became second nature – most frequently CTRL+C and CTRL+V.

After 15 years of this I decided I wanted an all in one computer to tidy up my home desk, and the iMac was easily the nicest option available in 2012, and in my opinion still is.  I also wanted to learn something new so I decided to go for it and get my head around OS X (now macOS).

Typing proved to be the biggest challenge. Particularly since my work computer was still a PC running Windows. You can’t drop ingrained habits if you have to do them every day!

Annoyances

#, @ and “

The first thing I noticed was that British Mac keyboards have the @ and the ” switched.  Given that we all type the @ key a lot these days when addressing email, this became frustrating.

The hash key (or “pound” if you are American) is not directly typed on a British Mac keyboard.  It’s located on the same key as the £ sign, but you have to press Option to get it.  As I started to do more programming, I started needing # more often, and having to use a modifier key slowed me down.

Copy/Paste

Secondly was Copy/Paste.  Mac uses the Command key (⌘) instead if CTRL for many shortcuts, while Windows uses Ctrl (^). Since the ⌘ key is in a different position on the keyboard to ^, touch typing Copy and Paste when switching gets difficult.

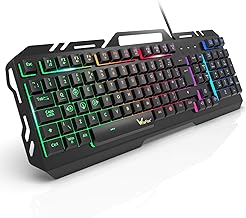
Ultimately this slowed me down noticeably, and I opted to get myself a Windows keyboard to replace the Apple Magic Keyboard. I went for a Logitech K810, which is a nice Bluetooth keyboard, unfortunately no longer available.

Pairing this keyboard with my Mac meant I could touch type again. But there were still a few annoyances that I fixed:

Spotlight

I really like Spotlight, and did get used to hitting ⌘+Space and typing instead of using the dock. I had also started using Executor at work and set Alt+Space to bring it up. When you use a Windows keyboard on a Mac the Alt and key is treated as Option, not Command, so the same physical movements don’t do the same thing.
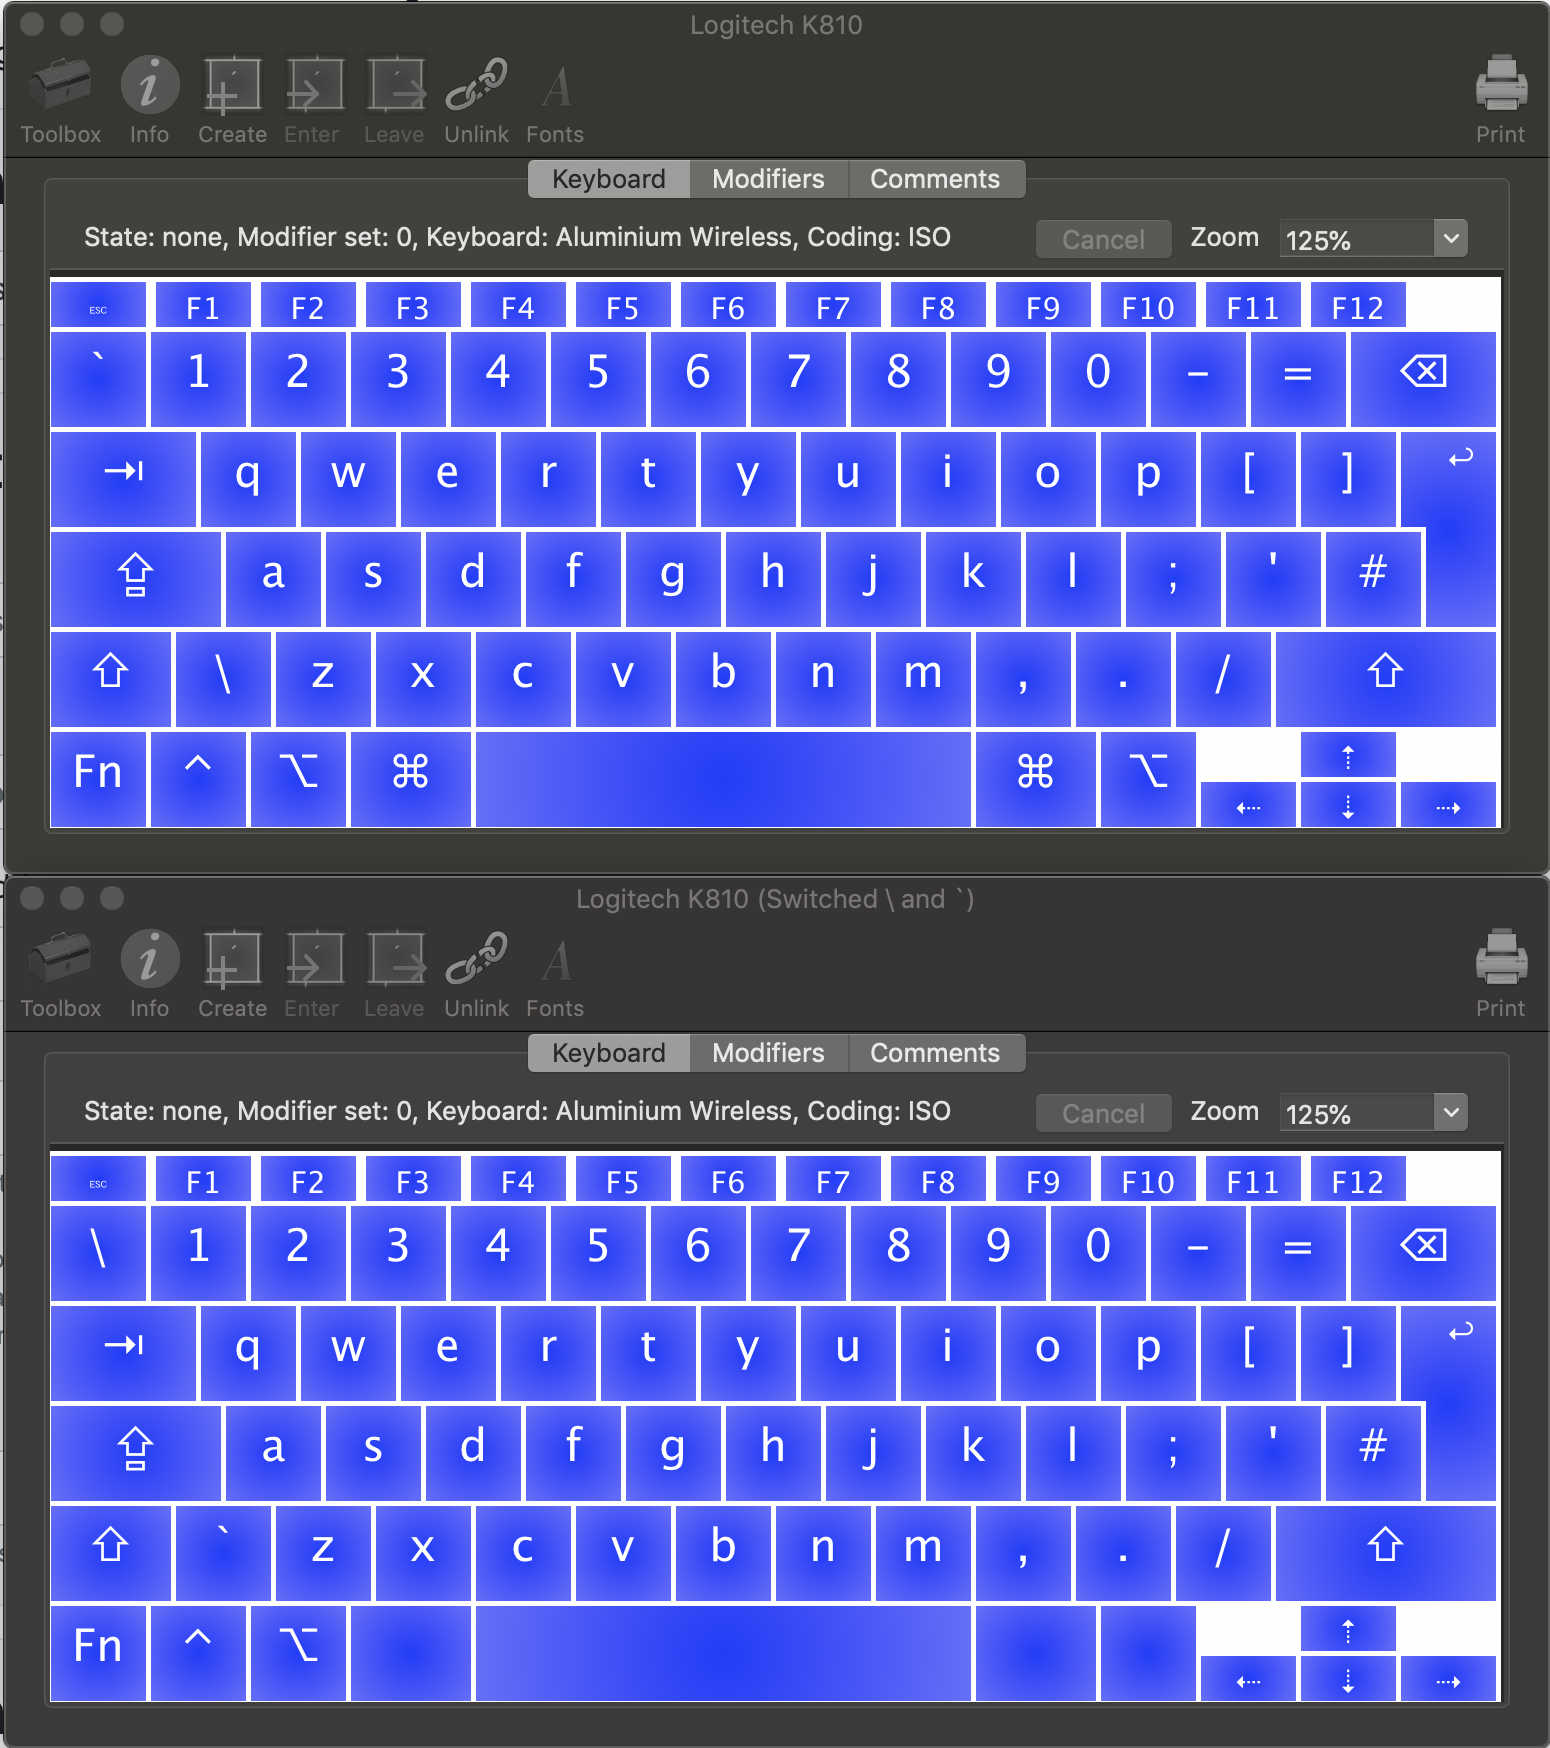
` and \

Another programming key is the and \.  For some reason macOS keeps treating the K810 as ANSI mapped rather than ISO, which swaps the and \ keys.

Fixes

Here’s what I did to get rid of the annoyances.

#, @ and “

Just switching to a Windows keyboard fixed these. I did need to add a new Keyboard mapping under System Preferences > Keyboard > Input Sources. The best one I found is British – PC, but more on this later.

Copy/Paste

macOS allows you to change shortcuts.  In System Preferences > Keyboard switch to the Shortcuts tab and select App shortcuts on the left. You can add custom shortcuts here for specific apps or everything.  Click on the + button to create a new one. Type the command in Menu Title, and type the desired Keyboard shortcut.  I did this for Copy, Cut, Select All, Paste, Undo and set them all to use Ctrl instead of ⌘. Here are all my Shortcuts:


Don’t set ^V to Paste and Match Style if you want to use this shortcut to paste into Microsoft apps like Office or Code – it won’t recognise the command.

Spotlight

The fix for this is to switch Modifier keys. In System Preferences > Keyboard, on the Keyboard tab, click the Modifier Keys button. If you switch Option to Command, and Command to Option, this brings the Command key next to the keyboard, and treats the Windows key as Option.  You’ll have to remember that one.

` and \

This was the biggest challenge. I thought I had it fixed when I set up my keyboard, as when connecting a new keyboard, macOS often asks if it is ANSI (US), ISO (British) or Japanese or detects it correctly.  However, there seems to be a bug in macOS where this setting is lost and it defaults to ANSI. This is a different thing from Keyboard Mapping but barely documented! You should be able to correct the setting using the Change Keyboard Type button in System Preferences > Keyboard, but often that button just doesn’t appear. I found a few suggestions for how to fix this involving deleting /Library/Preferences/com.apple.keyboardtype.plist and then rebooting – but that means rebooting in the middle of programming.  No good.

I fiddled around with Karabiner-Elements, which did allow me to bring up the Change Keyboard Type, but seconds later macOS would decide my ISO keyboard was actually ANSI.

The eventual fix is more of a workaround. I created two keymappings using Ukelele. I started with the British – PC mapping, and then made a new one that has ` and \ swapped. You can go further with Ukelele, and add all the special characters from the macOS British mapping, and even add custom icons to your keyboard maps. Once these are installed, when macOS decides to swap your keys around, you can just switch between the two mappings. No reboot required.

This is what I have learnt so far, and frankly I hope I’m done. This post is as much for my reference as I am sure I’ll need to apply these settings on another Mac in future.  I hppe this helps other people who find themselves frustrated switching between Mac and Windows.

If you have any other tips relating to using a Windows keyboard on a Mac, please share them below!

Fortnite for multiple users on macOS

FortniteMy kids love playing Fortnite – but one of them has to play on my Mac when the other is on the Nintendo Switch.  They each have a macOS account, which has Parental Controls set for it, so they can’t play all night long.

An issue I found with Fortnite on the Mac was that the Epic Launcher required download of all the Fortnite files for each user, even though it stores those files in the /Users/Shared folder which is, you know, Shared. Fortnite is huge, and I don’t want to waste drive space.  I figured out how to fix it, with some help from a similar post on the Unreal Engine forum.

Here is how to get it working.

Warning

If you have games other than Fortnite installed through the Epic Launcher, things might break. You might need to copy only some of the folders from Application Support. Be careful in case you overwrite saves from other games!

Part 1 – fix permissions on Shared binaries

  1. Install Fortnite via Epic Launcher on one player’s macos account.
  2. Go to /Users/Shared/ in Finder
  3. Right click on Epic Games folder and select Get Info
  4. Change permission for Everyone to Read & Write
  5. Click padlock at bottom right and authenticate as a user with Admin rights
  6. Click the drop down next to the cog and select Apply to enclosed items.

I haven’t checked this yet, but it should allow any user to do updates in future. I’ll update if I find this isn’t the case.

Part 2 – allow launch from each users Epic Launcher

  1. While logged into the first user account, go to \~/Library/Application Support in finder
  2. Locate the Epic Folder – right click it and select Copy “Epic”
  3. Go to /Users/Shared and create a new folder called Temp – go into it
  4. Paste the Epic folder in here
  5. Log out of this account (makes sure Epic Launcher is closed
  6. Log in as one of the other users and start Epic Launcher – note that Fortnite still requires Installation – exit Epic Launcher
  7. Open Finder windows for both /Users/Shared/Temp and \~/Library/Application Support
  8. Copy the Epic folder from /Users/Shared/Temp
  9. Paste it into \~/Library/Application Support – any time it asks you to Replace or Merge, select Replace

Now when you start Epic Launcher from this user account, you no longer need to Install Fortnite – you can Launch it and it will work fine.

I did a bit more poking around, and it looks like all that is needed in Part 2 is to copy item files from the ~/Library/Application Support/Epic/EpicGamesLauncher/Data/Manifests folder.

There will be a .item file starting with a random string of characters for each game that is installed. You need to open each file in TextEdit to identify which game it relates to.

You can then copy this file from the Manifests folder in one account into that of another. The next time that Epic Launcher is opened in the other account, the game will appear as already installed. I’ve tested this for The Witness and Subnautica after getting Fortnite working as above.

Making kimchi

I’ve made my second batch of kimchi. Here is the recipe I used, adapted from a couple from Maangchi’s site. I liked the look of the ingredients from her whole cabbage recipe (fermented shrimp rather than raw squid), but wanted to use elements from her easy kimchi one (chopped cabbage), and also the quantities were on the large size since I’m just starting out in my kimchi journey. I’m just going to provide ingredients – follow the steps on Maangchi’s site for Easy Kimchi but use these quantities.

Equipment

  • 2 large mixing bowls
  • Collander
  • Glass jar – I have used both Korken and 365 jar with lid from IKEA, but anything holding a litre should work
  • Cup measures

I spotted some special kimchi jars with pressure release valves on sale in Lakeland plastics, but they are a bit small and expensive. The IKEA ones seem fine and very cheap.

Ingredients

  • 1 Chinese cabbage from my local Chinese food store
  • About 2 inches of daikon radish cut into match sticks
  • A medium carrot cut into match sticks
  • 4 green onions
  • 8 cloves of garlic or an entire small bulb
  • A couple inches of fresh ginger, minced
  • 8 teaspoons fish sauce
  • 4 teaspoons fermented shrimps and brine (had to go to Korean store on Tottenham Court Road for this)
  • ⅔ cup hot pepper flakes

Porridge ingredients

You actually need about ½ cup porridge. You can freeze what is left over for future kimchi or practical jokes. It isn’t easy to get frozen cubes of porridge out of ice trays so I’d suggest freezing measured ½ cups in freezer bags instead.

I’m looking forward to this fermenting and will report back in a couple of days how it tastes, and if the jars exploded.

Update

After a couple of days the kimchi was nicely fermenting, making a pop when ever I opened the jar. I transferred it to the IKEA jar which fits in the fridge better.

The kimchi is absolutely delicious. Way more firey than what you might buy, but also a much more sophisticated flavour. After 18 days it is almost all gone, so I am off to the local Chinese grocery to pick up some more cabbage and daikon for the next batch. Looking forward to using cubes of frozen porridge for a much quicker assembly.

The above is now my go to recipe for Kimchi until I figure out any further tweaks!

Not sure how long the fermented squid keeps for – it defrosted on the way back from the Korean store…